Essentially, in this experiment, you cut three identical plastic bottles and hot glue them to a board of some kind, the opening of the bottle hanging over the edge as shown in the picture. The first bottle is filled only with dirt. Bottle number two is filled with dirt and debris (bark, leaves, dead roots) is placed on top. Seeds are sown in the third bottle and grown. Once the third bottle's seeds have taken root, place the bottom of three cut bottles on the mouth of the bottles (acting as buckets). Next, students will poor water in the bottles. Students will then analyze the water that has ran out of the bottles into the buckets that are hung on the spouts.
This is a process experiment that can be down over approximately two weeks. It could be adapted for any grade, depending on how the teacher has students analyze the water (using a recording sheet, writing a paragraph, creating a hypothesis, etc). Looking at standards, this could be used in several grades, teaching measurement, life science, etc.

2. Rain Rain Go Away
This is yet another wonderfully simple activity. A great complement a unit on weather or the rain cycle, this activity demonstrates precipitation and what happens when a cloud becomes too heavy.
The processes is simple. You take a clear glass and fill it with water. Next, you cover the top with shaving cream, as if a cloud. Taking your blue food coloring, drip the liquid until the "cloud" becomes too heavy to hold it and it begins to "rain" into the water below. That's it! Simple.

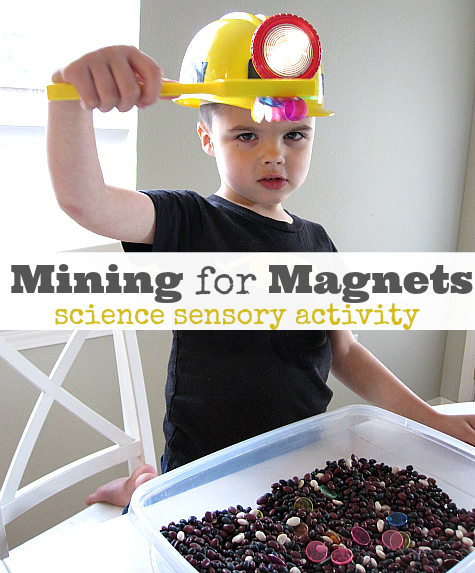
3. Mining for Magnets!
A fantastic activity to do in a unit on magnets, all you need are some dried beans, a magnet wand, steel ringed chips or something else magnetic, such as paper clips, and a dish to pour it all into. Let the children begin to "mine" the objects out of the bin. This activity incorporates a sensory experience with science. You can even incorporate math by having students sort, count, or pattern the objects they mine.
4. It Feels...
This is a fantastically simple activity for young children (pre-k or kindergarten). You could create this chart, of simple have different materials, such as these ten, for children to feel. You could even incorporate literature with this science experiment, by reading a book about touch. This activity would be a fantastic addition to any 5 Senses unit!
5. What Will Freeze First?
For this activity you will need various liquids. They used ranch dressing, dish soap, chocolate syrup, milk, water, vinegar, and apple juice. You will also need an ice-cube tray, a freezer, and some form of a timer. This is an observation-based activity, meaning that you will set up the ice-cube tray, place it in the freezer, and set the timer. Every so often you will have the students check the ice-cube tray, making observations on which is freezing, how difficult they are to stir, etc. I think it is important to have students make predictions, first, before the tray is put in the freezer. In the end, you may have students write in their science journal what their final observations are.
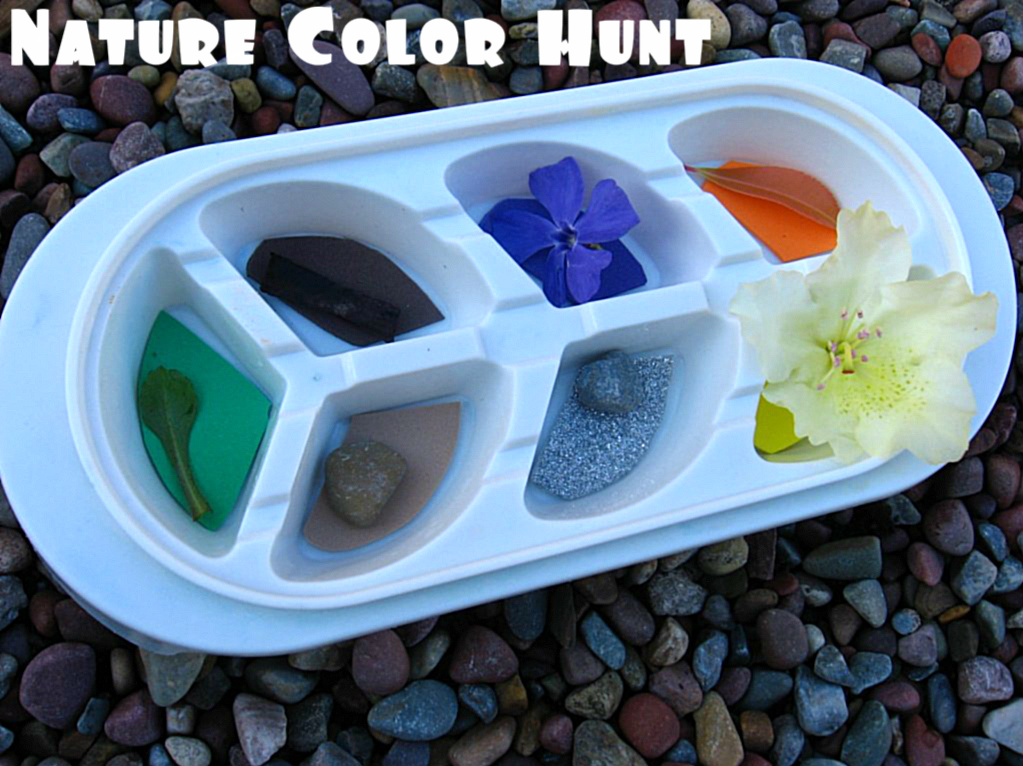
6. Nature Color Hunt

For this scavenger hunt, you will need an ice-cube tray or an empty egg carton, construction paper, and an outdoor space. First, have children cut out colors and line each section of their carton. After lining their carton, allow children to hunt for matching colors to place in that compartment. This is fantastic for sorting, incorporating science and math. You can also have students write about what they find, discussing attributes.
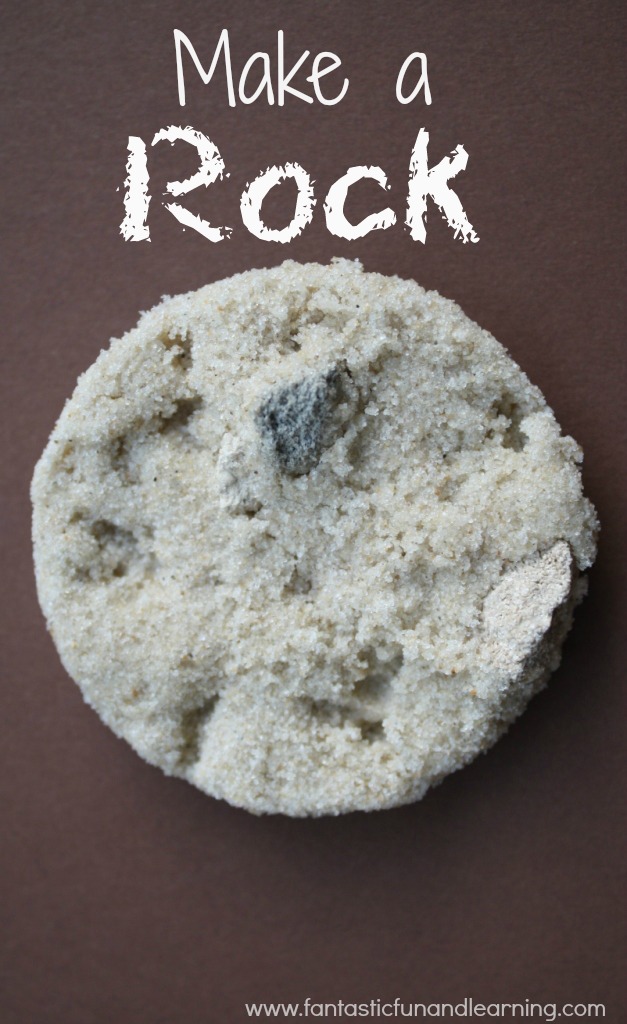
7. How to Make a Rock
Fantastic for any geology unit, in just about any grade, this activity only needs sand, glue, pebbles, and a plastic cup. Taking your materials, you layer the sand, pebbles, and glue in the plastic cup. The hardest part of this activity is waiting for the glue to harden so you can see your awesome rock!
 8. Make a Fossil from Glue!
Appropriate for just about any grade level, this activity requires modeling clay, branches, seashells, bones, or any type of hard natural objects, and glue. It's best to have students collect these natural objects themselves, incorporating the power of choice. Using the objects, make an impression on the modeling clay. Remove the objects. Fill the impression with glue. The deeper the impression, the longer it will take for the glue to dry. Once the glue has dried, peel the glue from the clay. This dried glue is now your cast or mold of the original object!
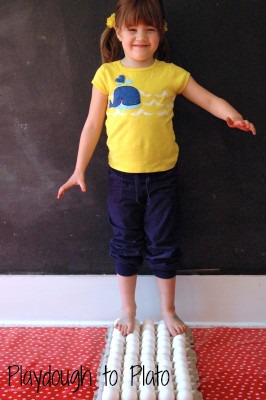
9. Walking on Eggs
This physical science activity focuses on how pressure is applied. You will need a plastic table cloth, 4-8 dozen eggs, and towels (just incase you have a few eggs break!). To set up the area, place the plastic table cloth on the ground, taping down the edges. Next, inspect the eggs for any cracks and turn them pointy side down into the carton. Sit the cartons on the plastic table cloth like a mini-runway. It is important to explain to your students how evenly distributed pressure will not break the eggs. This is different than when you crack an egg on a bowl.
10 Elephant Toothpaste
A fun, potentially messy, science experiment, it's a good idea to wear a lab coat and goggles for this one. For Elephant Toothpaste you will need, 6% hydrogen peroxide, food coloring, yeast, warm water, dish soap, an empty plastic bottle, a funnel, and a large bowl to sit the bottle in.
First, pour the peroxide into the bottle. Second, add the food coloring to the peroxide. Third, add dish soap to mixture and swish around. Fourth, combine water and yeast in a separate cup, mixing for about 30 seconds. Fifth, using the funnel, pour the yeast into the soap mixture and let the fun begin! The mixture is safe for children to touch. It will be warm because of the chemical reaction (water, oxygen, and soap).


No comments:
Post a Comment